Add a New Hitlist
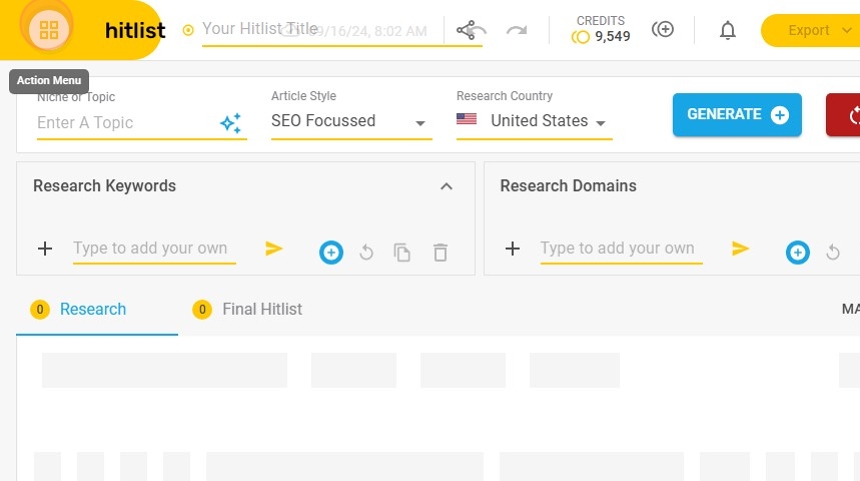
1. Click the Action Menu button.
2. Click “ADD NEW”

Name your Hitlist
3. Click the “Your Hitlist Title” field.

4. Type in the name that you want for your hitlist. This could be the title of your blog or a brief description.
Enter your topic
5. Click the “Niche or Topic” field.

6. Type in your topic.
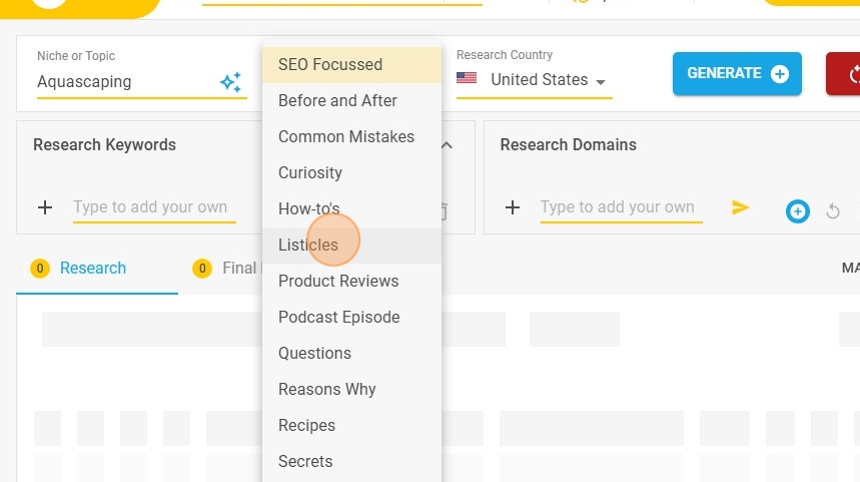
Choose Article Style
7. Navigate to the Article Style dropdown menu and click on the options.

8. From the available options, select the style that best suits your preferences or requirements.
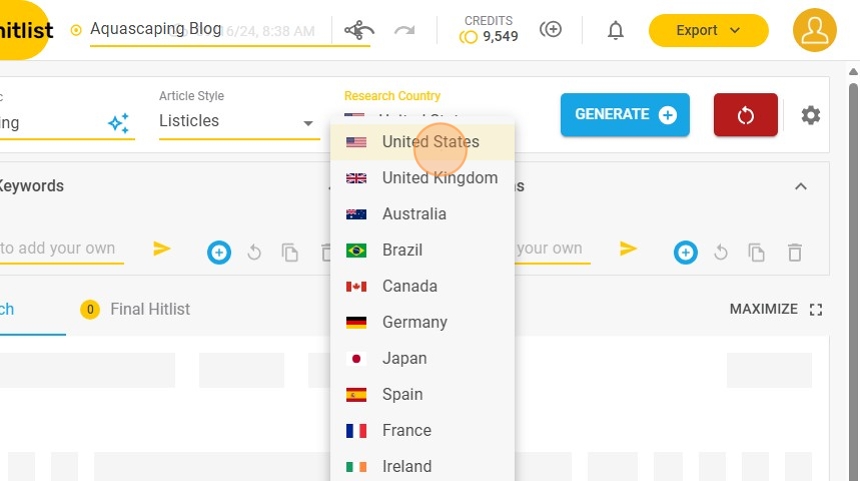
Select Research Country
9. Navigate to the Research Country dropdown menu and click on the options.

10. Choose the country you’d like to target for your hitlist. This step helps tailor your results to a specific geographic context.
Add Research Keywords.
11. Click the “+” icon at the bottom right-hand corner of the Research Keywords panel to automatically generate keywords for you within the limits you set in your profile.
You can also add keywords manually by typing them into the input field, clicking the arrow next to them, or pressing Enter on your keyboard.

Add Research Domains
12. Click the “+” icon on the bottom right-hand corner of the Research Domains panel to automatically generate domains for you within the limits you have set in your profile.
You can also add research domains manually by typing in the input field and clicking the arrow next to it or by pressing Enter on your keyboard.

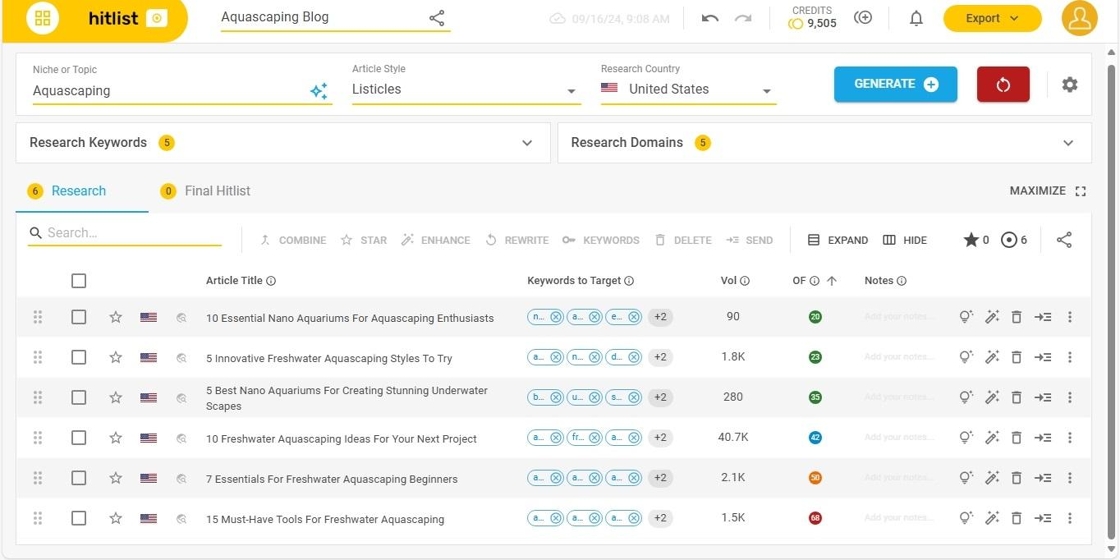
Generate Hitlist
13. Click the Generate Hitlist button to create article suggestions.

14. Hitlist.ai will display the generated Hitlist.